Mini Kossel - Cross Bracing
More 3dprinter 08 Feb 2014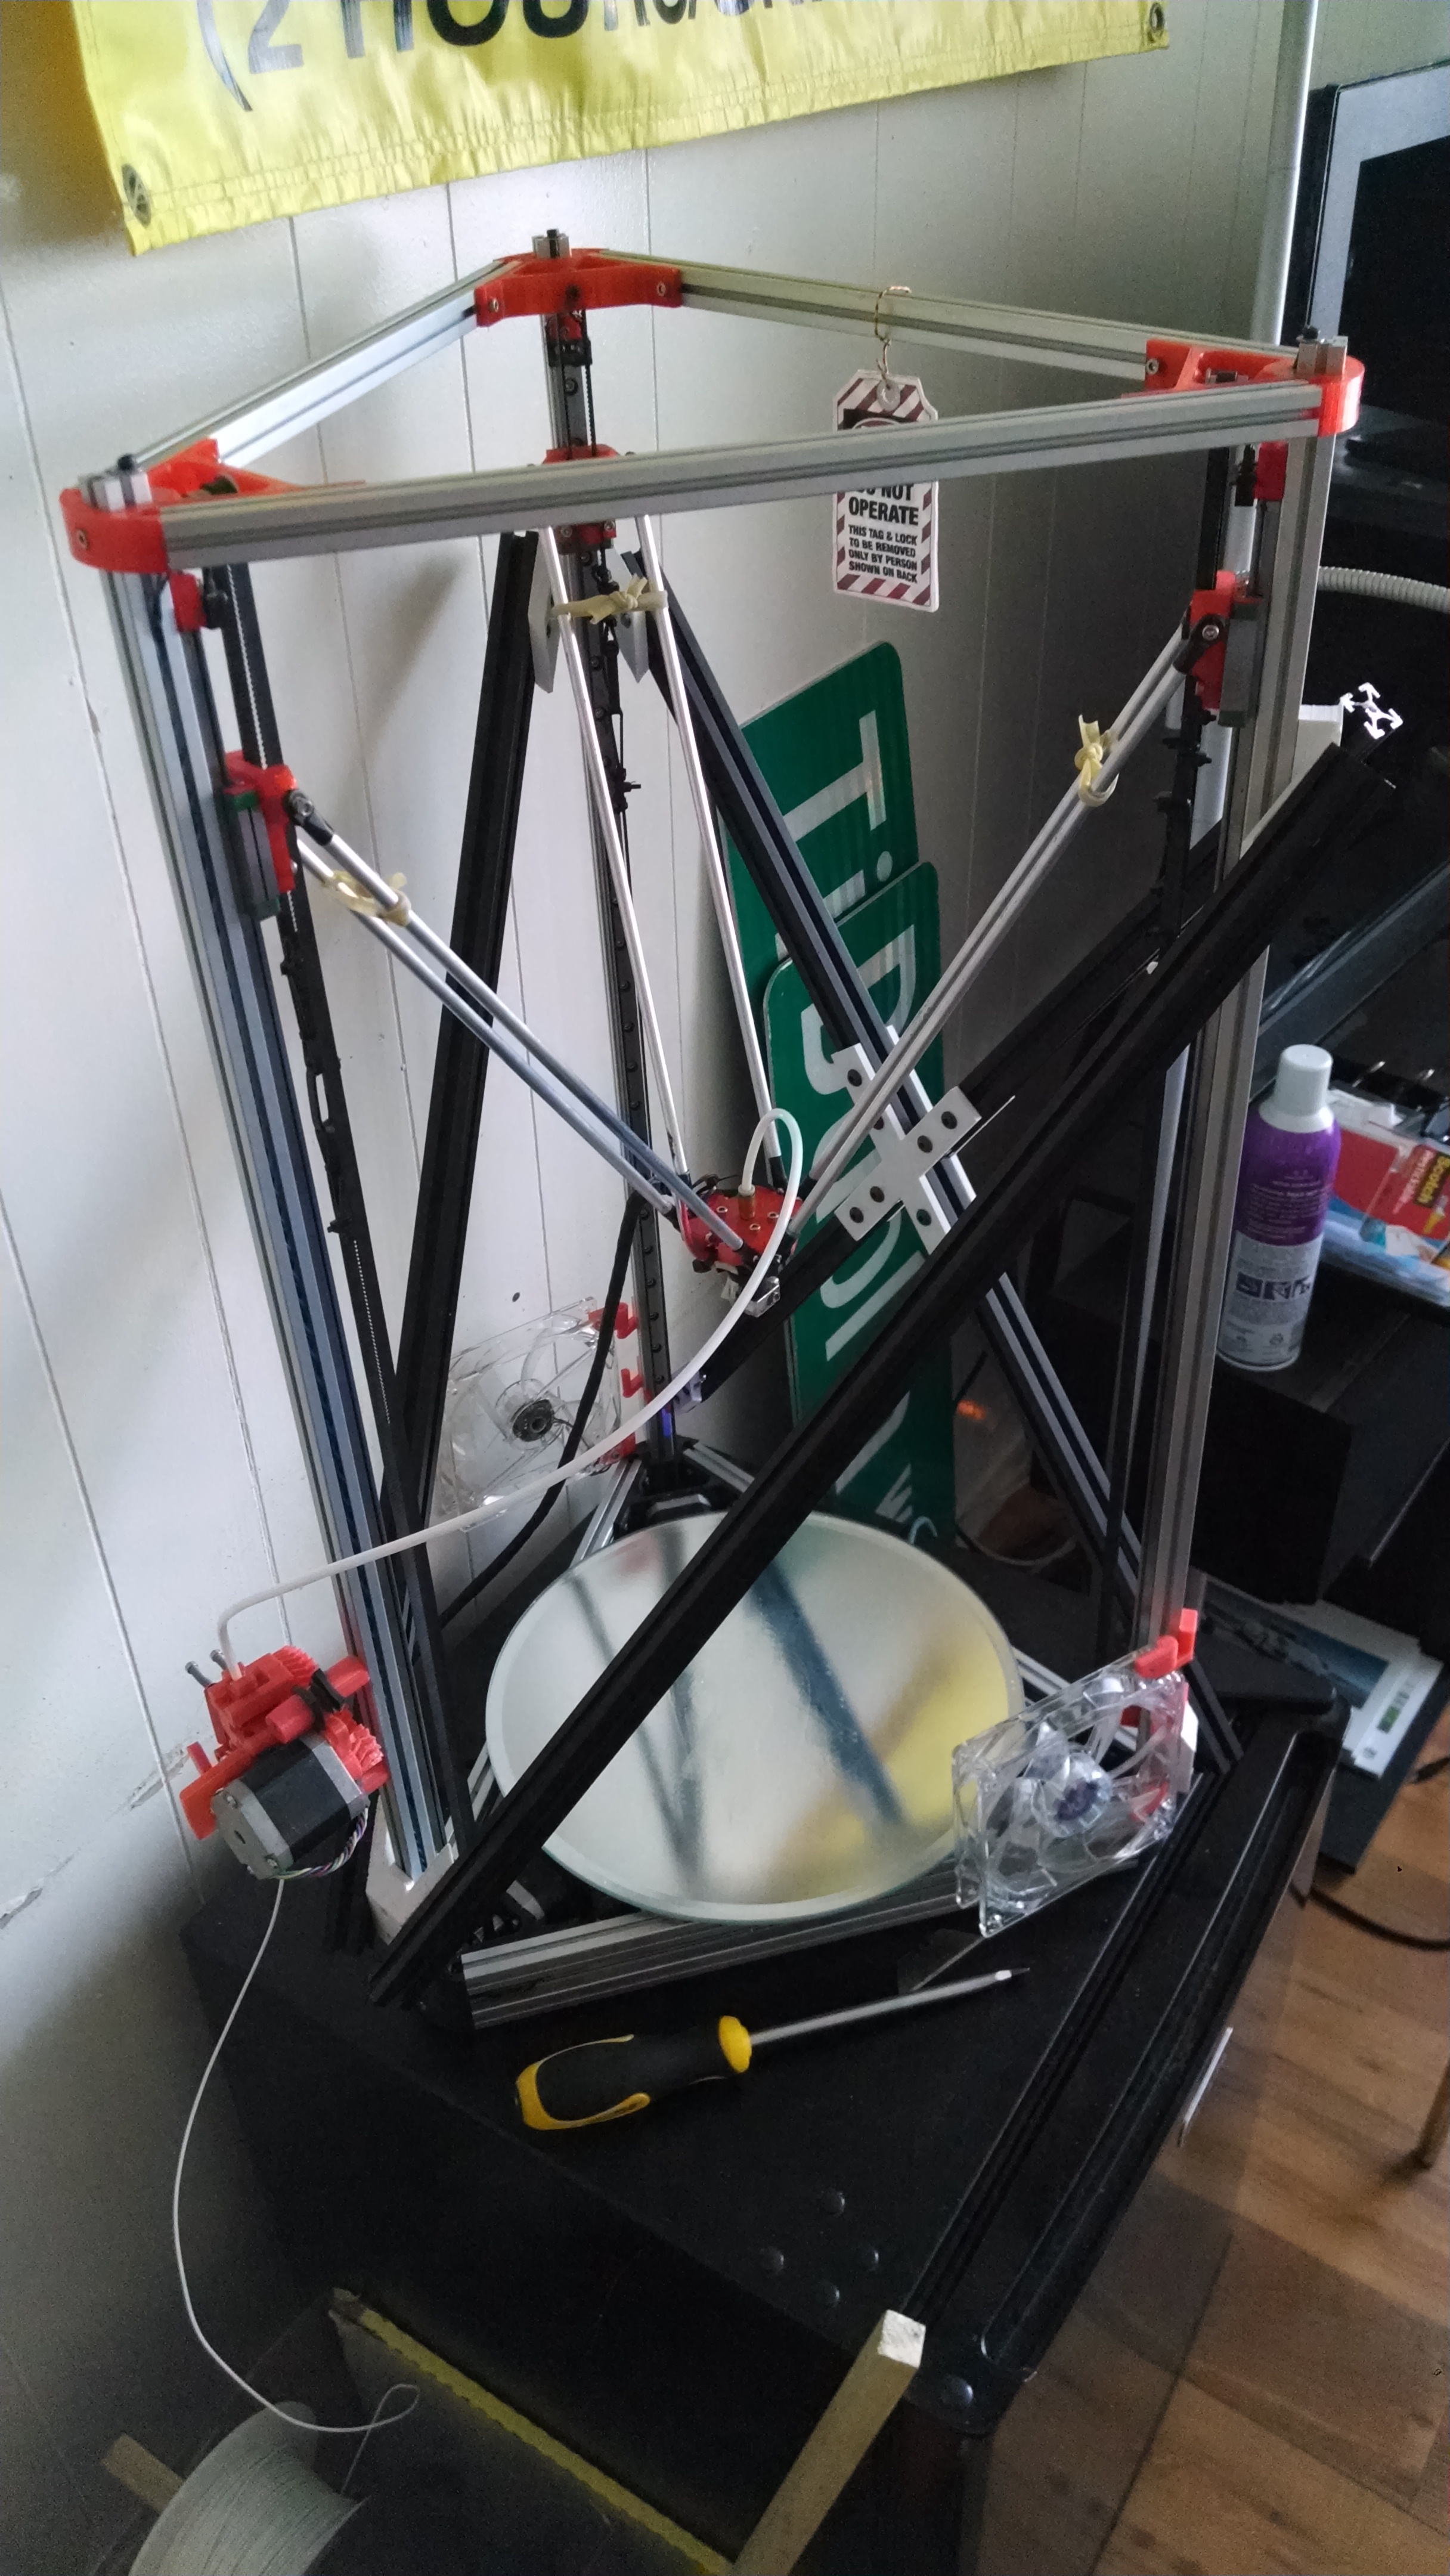
The printer lacked rigidity and would wobble while it ran. This is no good for me. It also made quite a racket, just enough to be heard in my bedroom which meant no late night prints.
I came up with the idea of adding some cross braces to the printer to make it a little more rigid. I struggled a bit deciding how to do it. I wanted to attach the cross braces to the upper triangle brackets, but the upper triangle must be movable to tension the belts so that idea was out. The end result was to attach them to the columns since that would require the least disassembly while still reaching the majority of the length of the printer. I wanted to go with only diagonals, but since the printer is a triangle, I couldn’t simply have three diagonals or it wouldn’t be symmetric /(which makes me sad/) or they would all have to slant the same direction, reducing the effectiveness of the bracing.
Above you see my solution. Two diagonals and an X give it a sort of pleasing pattern. Three Xs would obviously be better, but then access to the print area is more difficult. This way I get easy access and good bracing. The printer is now ultra stiff which gives me great prints. You might also notice that my bed switched from glass to a round mirror. This happened for multiple reasons. Mainly because I broke the glass while disassembling the printer, but I also decided to migrate to Johann’s force sensitive resistor bed levelling. The old system used a switch and a deployable probe to find the surface height at a variety of places. This one uses 3 FSRs underneath the bed to “feel” when the probe touches the glass. This is preferable since the probe was very fragile and finicky, and the distance between the probe and extrusion tip had to be precisely measured to get a good reading.
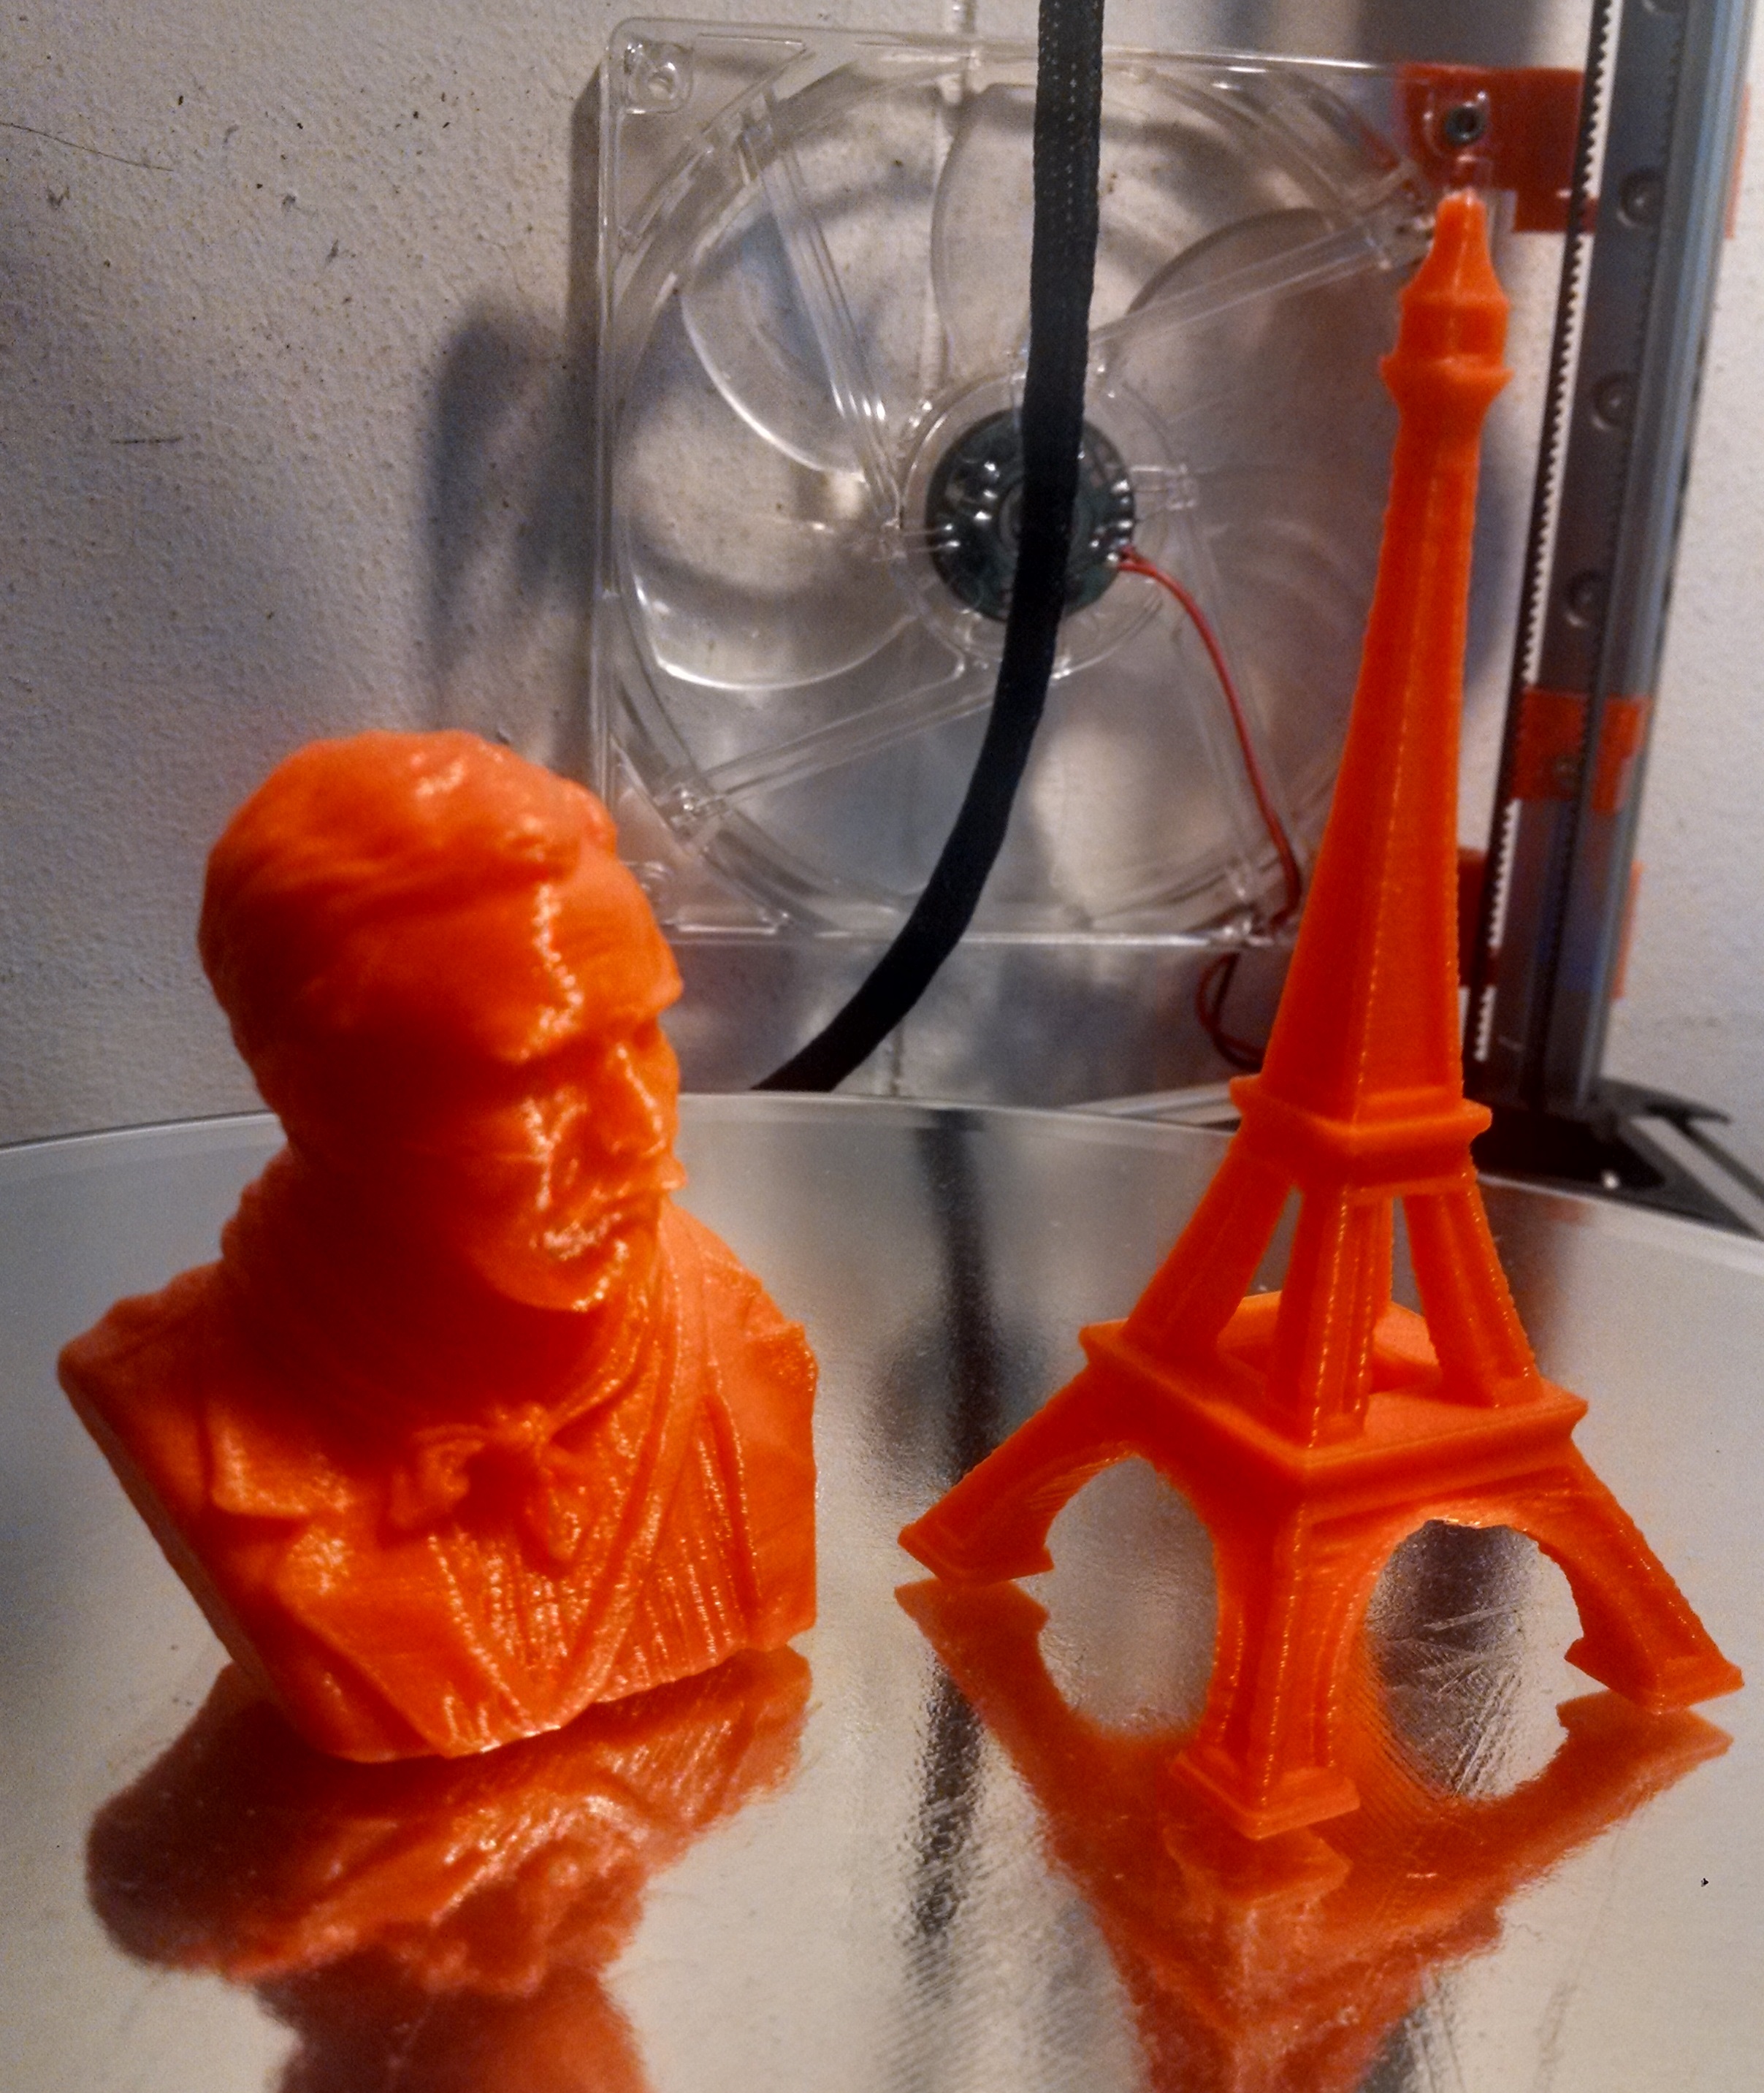
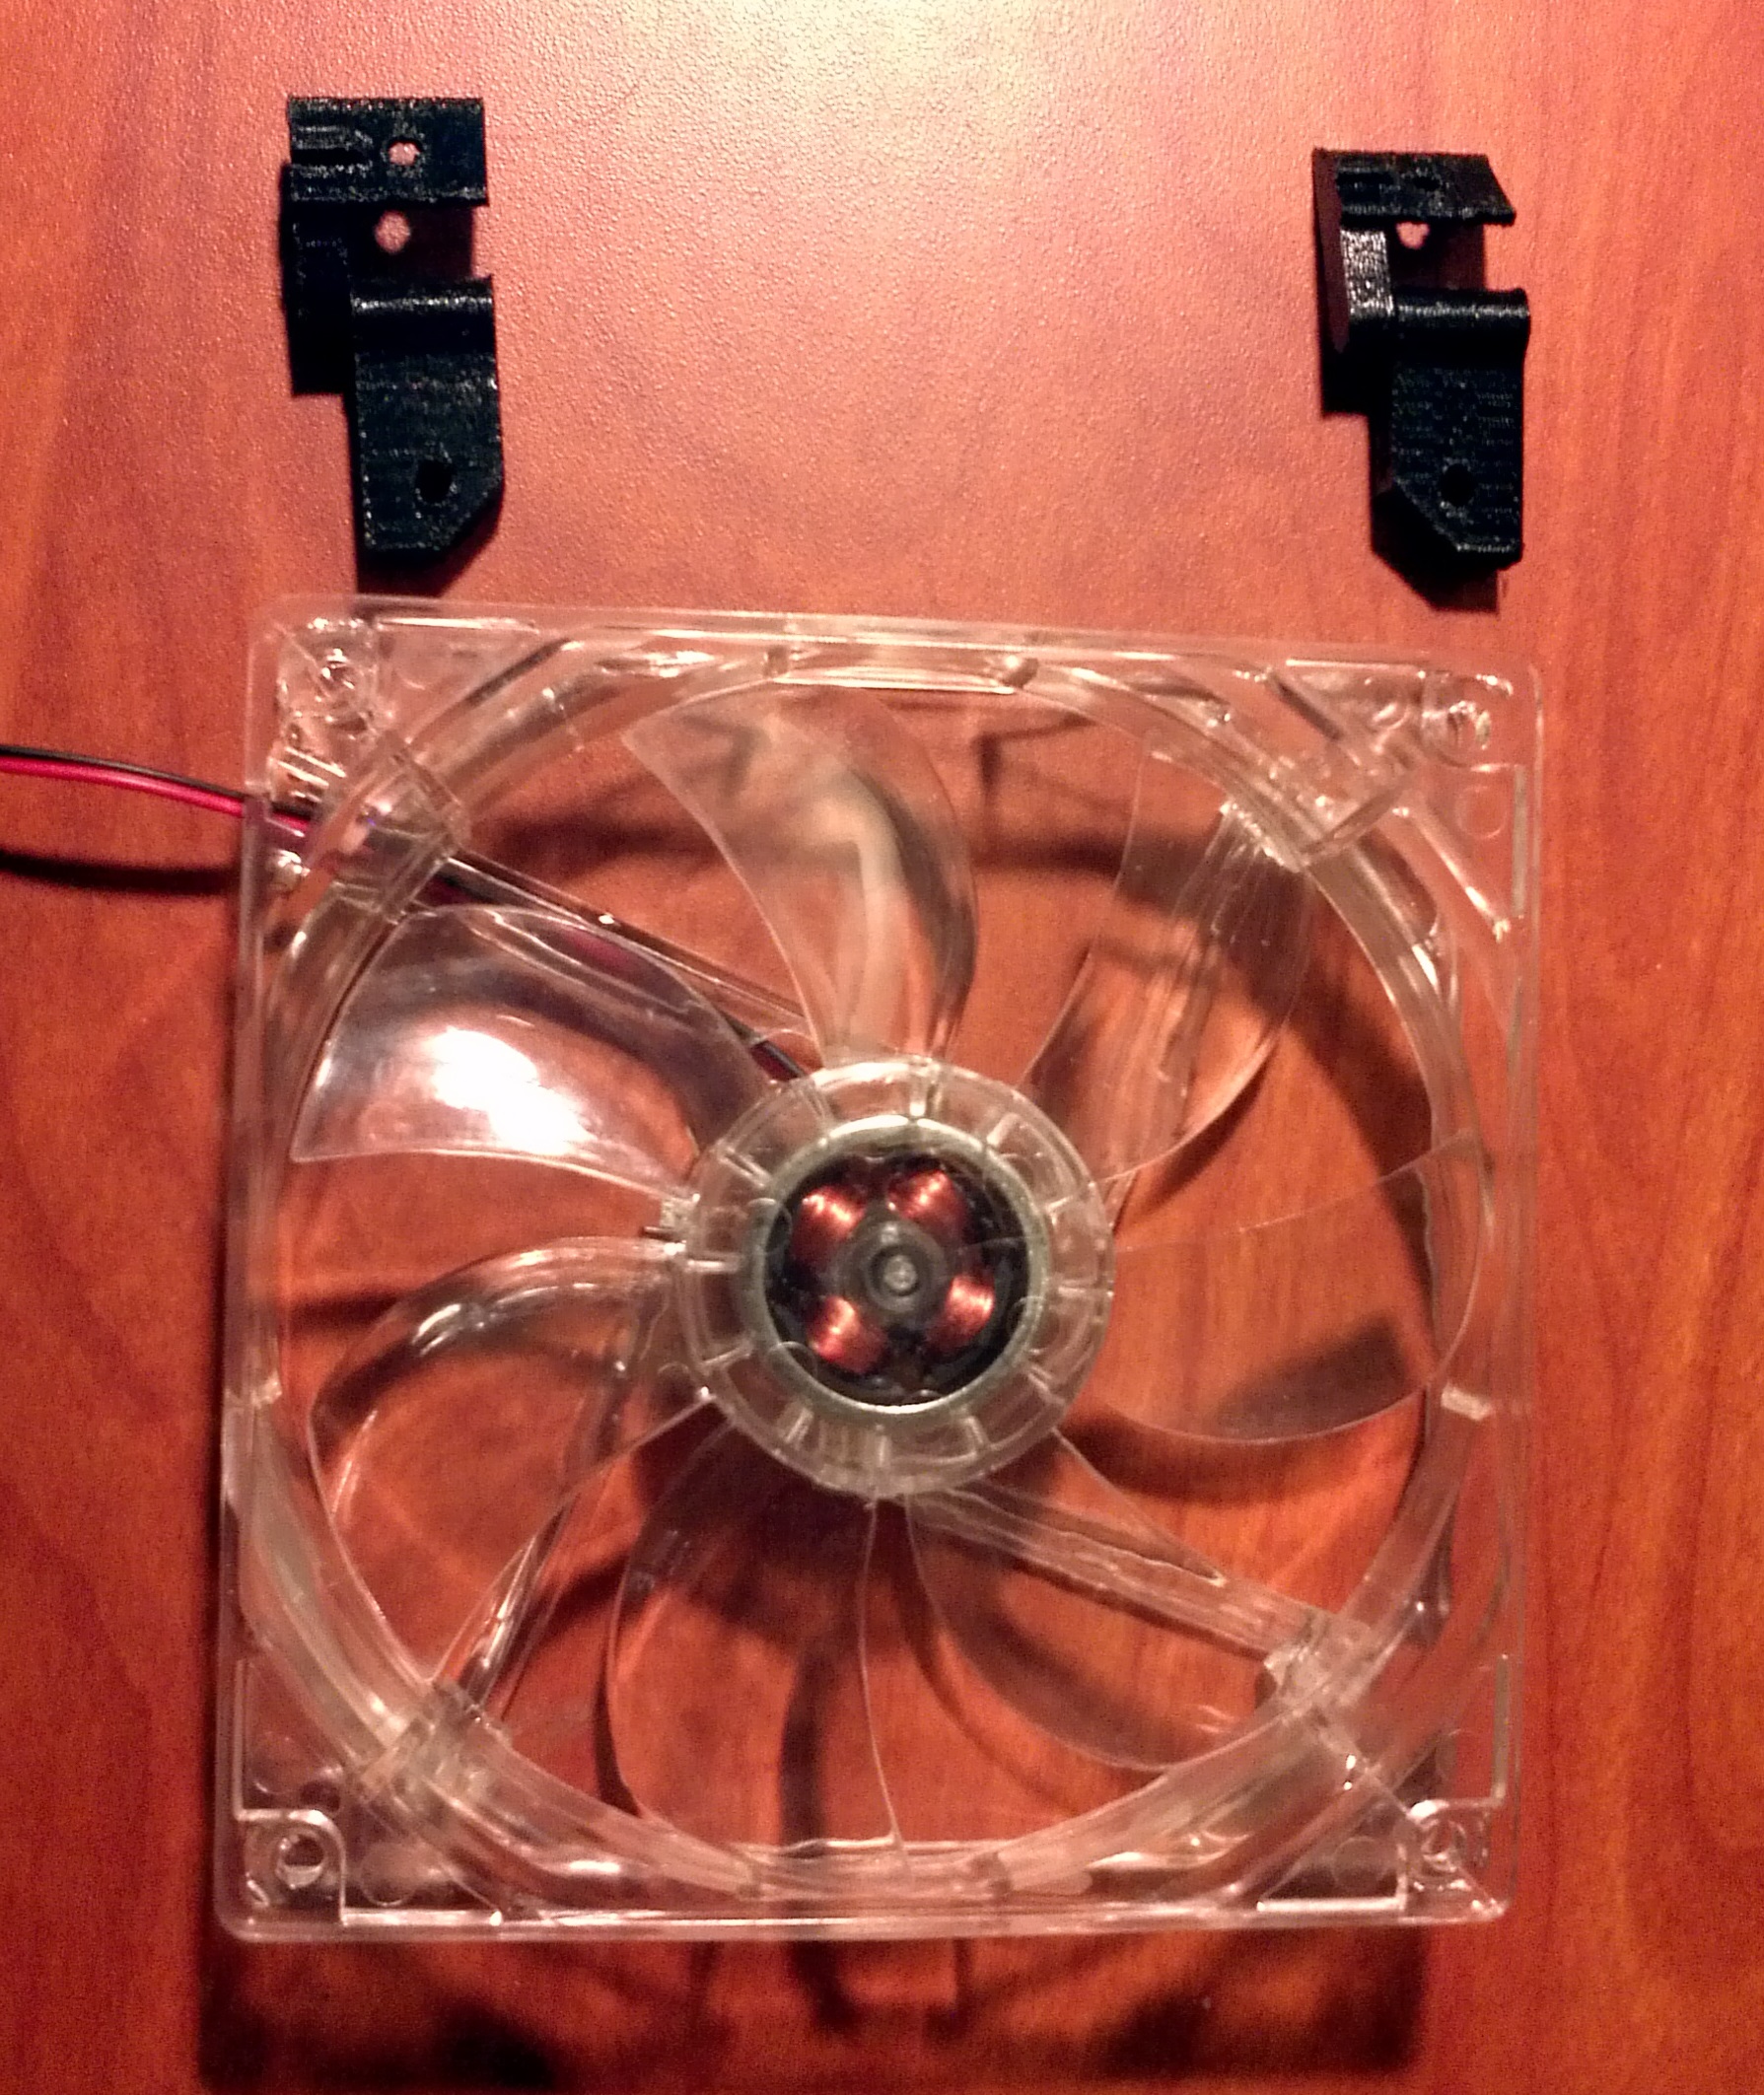
I also added two cooling fans to my setup while it was apart. These fans are mounted on hinges of my design to allow them to swing out of the way when not in use, as well as coarsely aim them at the print. The fans are big PC cooling fans since they’re cheap and run on the same voltage as my control board. These are also programmed in the controller to automatically turn on at a specific time during a print.
Last thing to happen while the printer was apart was to add some vibration dampers. I did this using Sorbothane sheets from Ebay. I cut pieces to match the stepper motor frames and sandwiched them between the motor and their mount. While this isn’t as good as a truly isolating mount where the motor is only directly attached to anything else through the damper material, it does lessen the noise. The big difference maker however, was adding Sorbothane feet to the printer. I used the same Sorbothane sheet to cut squares and put one under each corner. Sorbothane is really sticky so I also added a sheet of cork under the rubber to prevent it from sticking. The cork should also aid in the isolation. The sound is at least half as loud as it was before the vibration damping.
DominicDoty.com and all work shown in it is licensed under a Creative Commons Attribution-NonCommercial-ShareAlike 4.0 International License.