Mini Kossel - Build & Calibrate
More 3dprinter 25 Sep 2013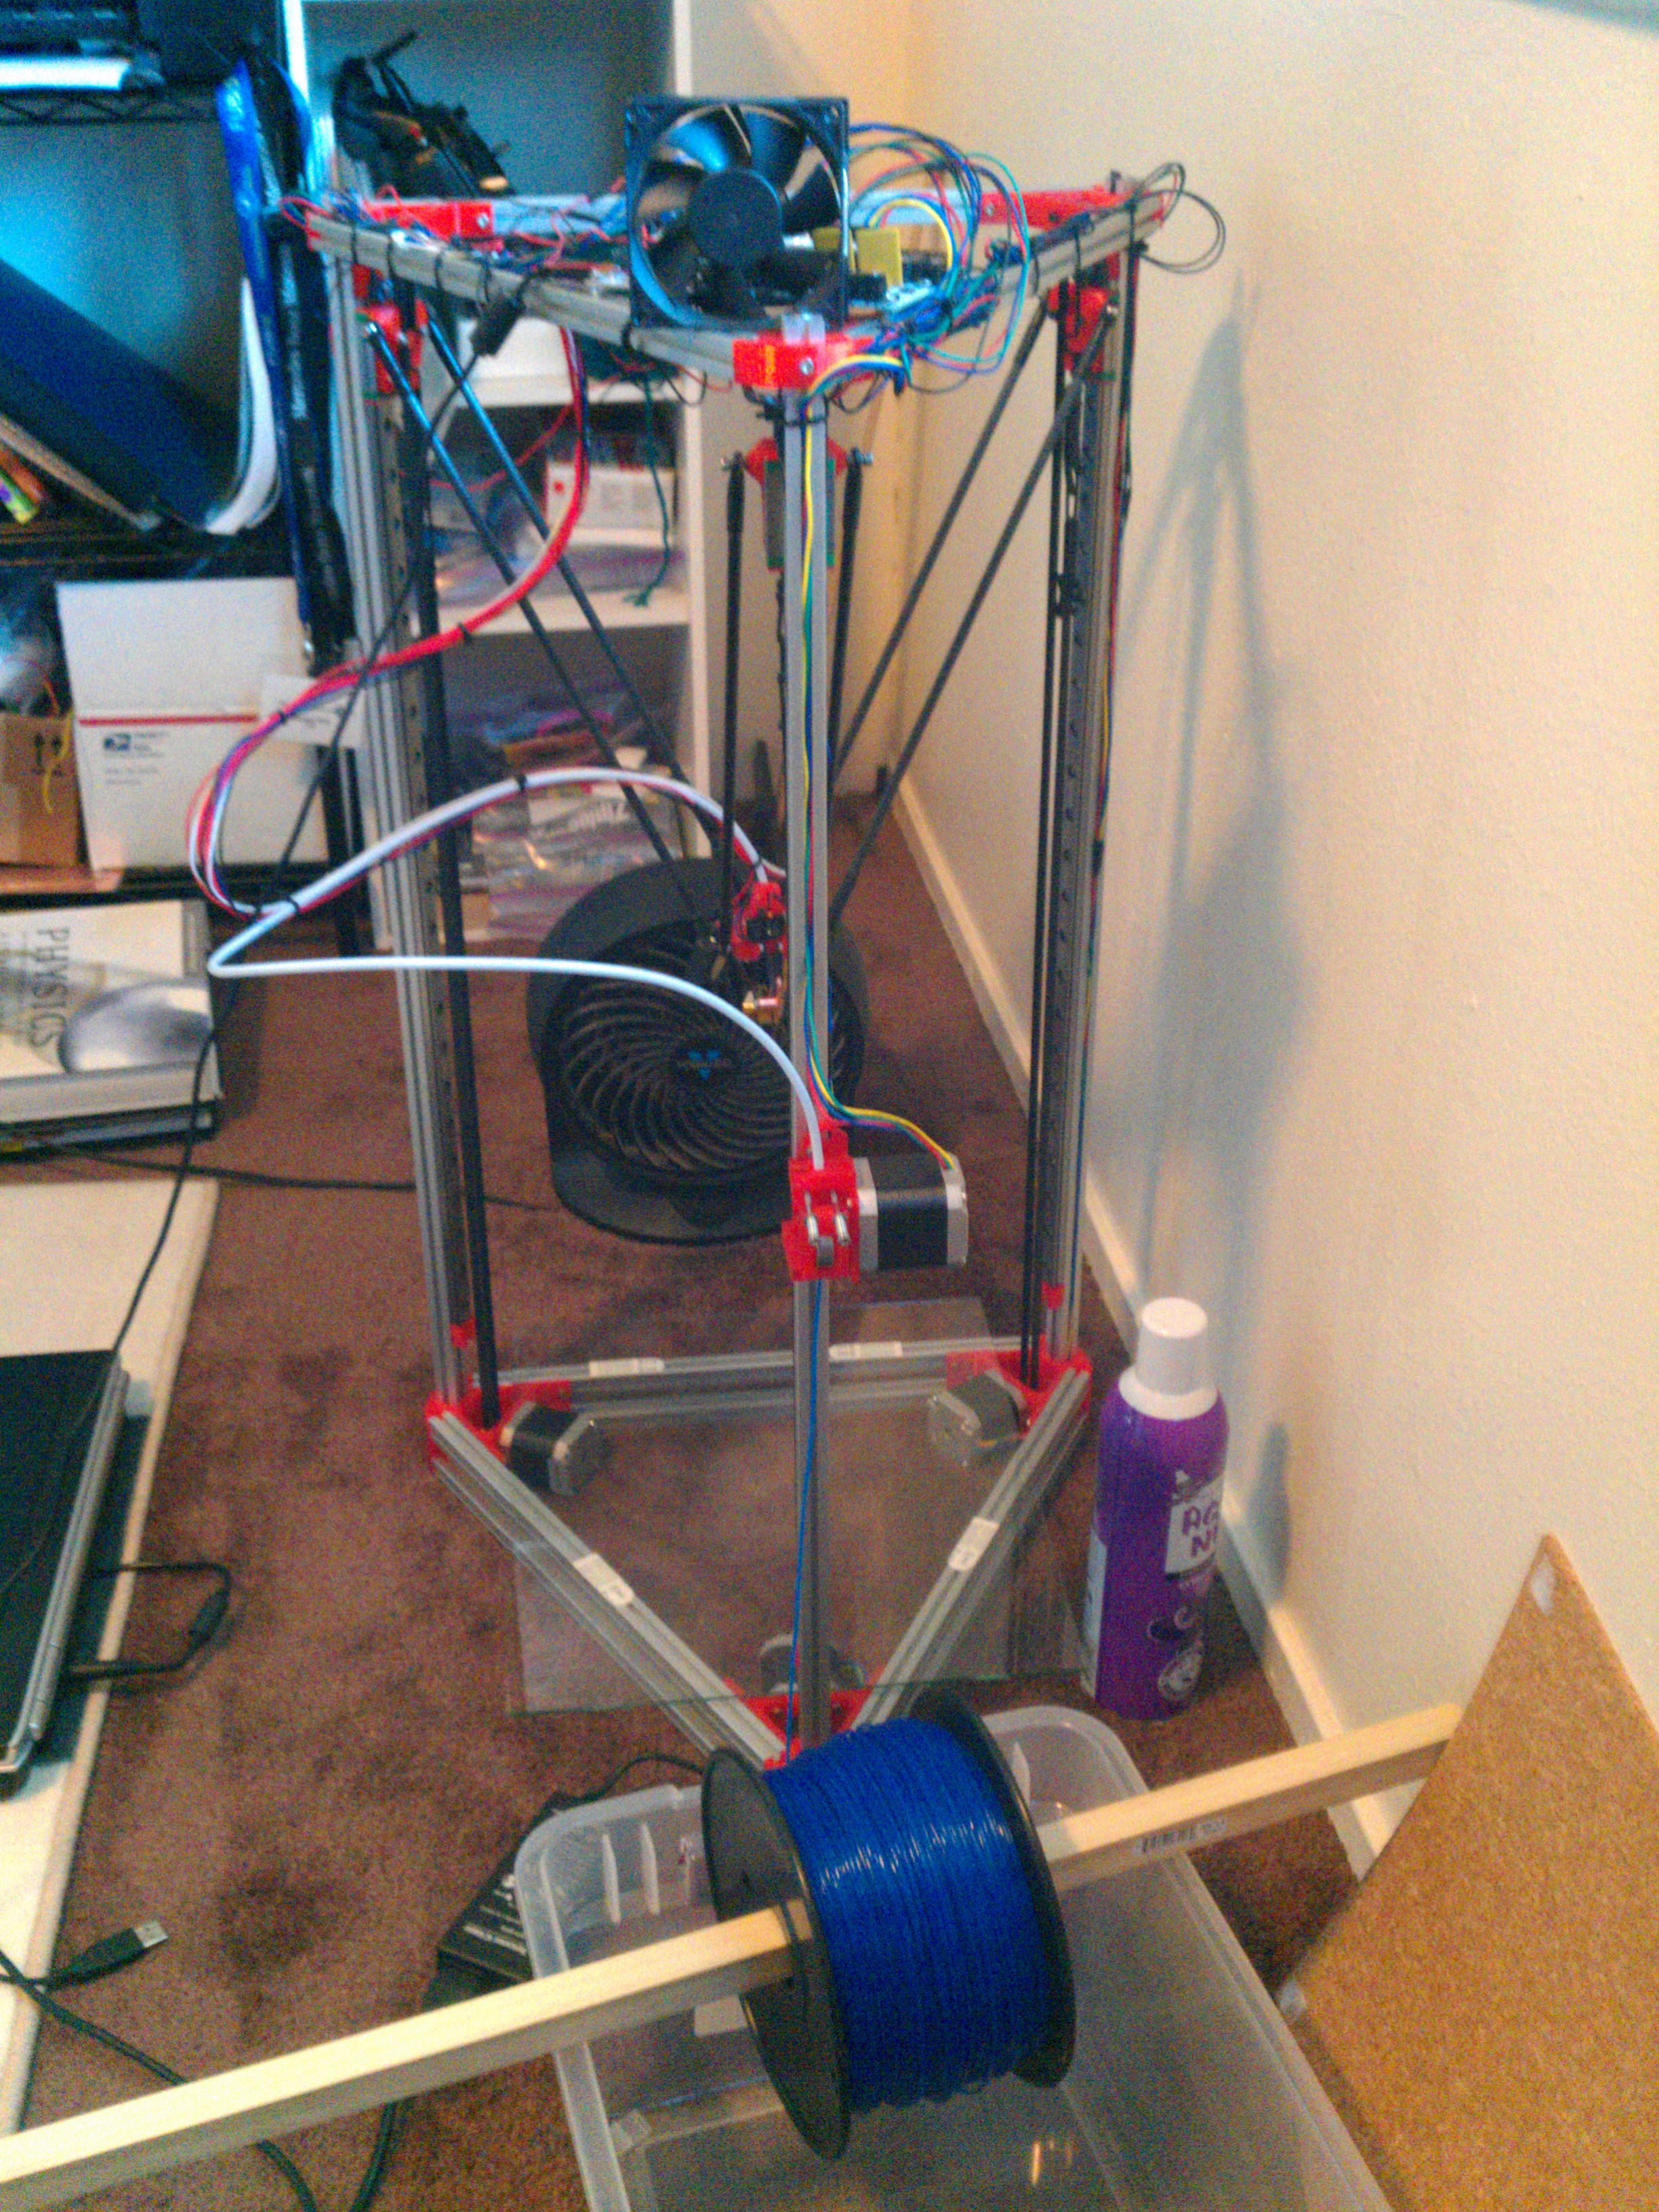
This is my first big project! My Mini Kossel delta 3d printer.
I remember watching videos of the RepRap Darwin when it was still really new. Someone who was with me at the time didn’t actually believe that 3d printing was possible. I’ve pretty much wanted one ever since that day. I got to a point where I had some money from a summer job and had been following the Kossel for a little while, and decided to make the jump. I blindly ordered all the parts in one big binge and went for it.
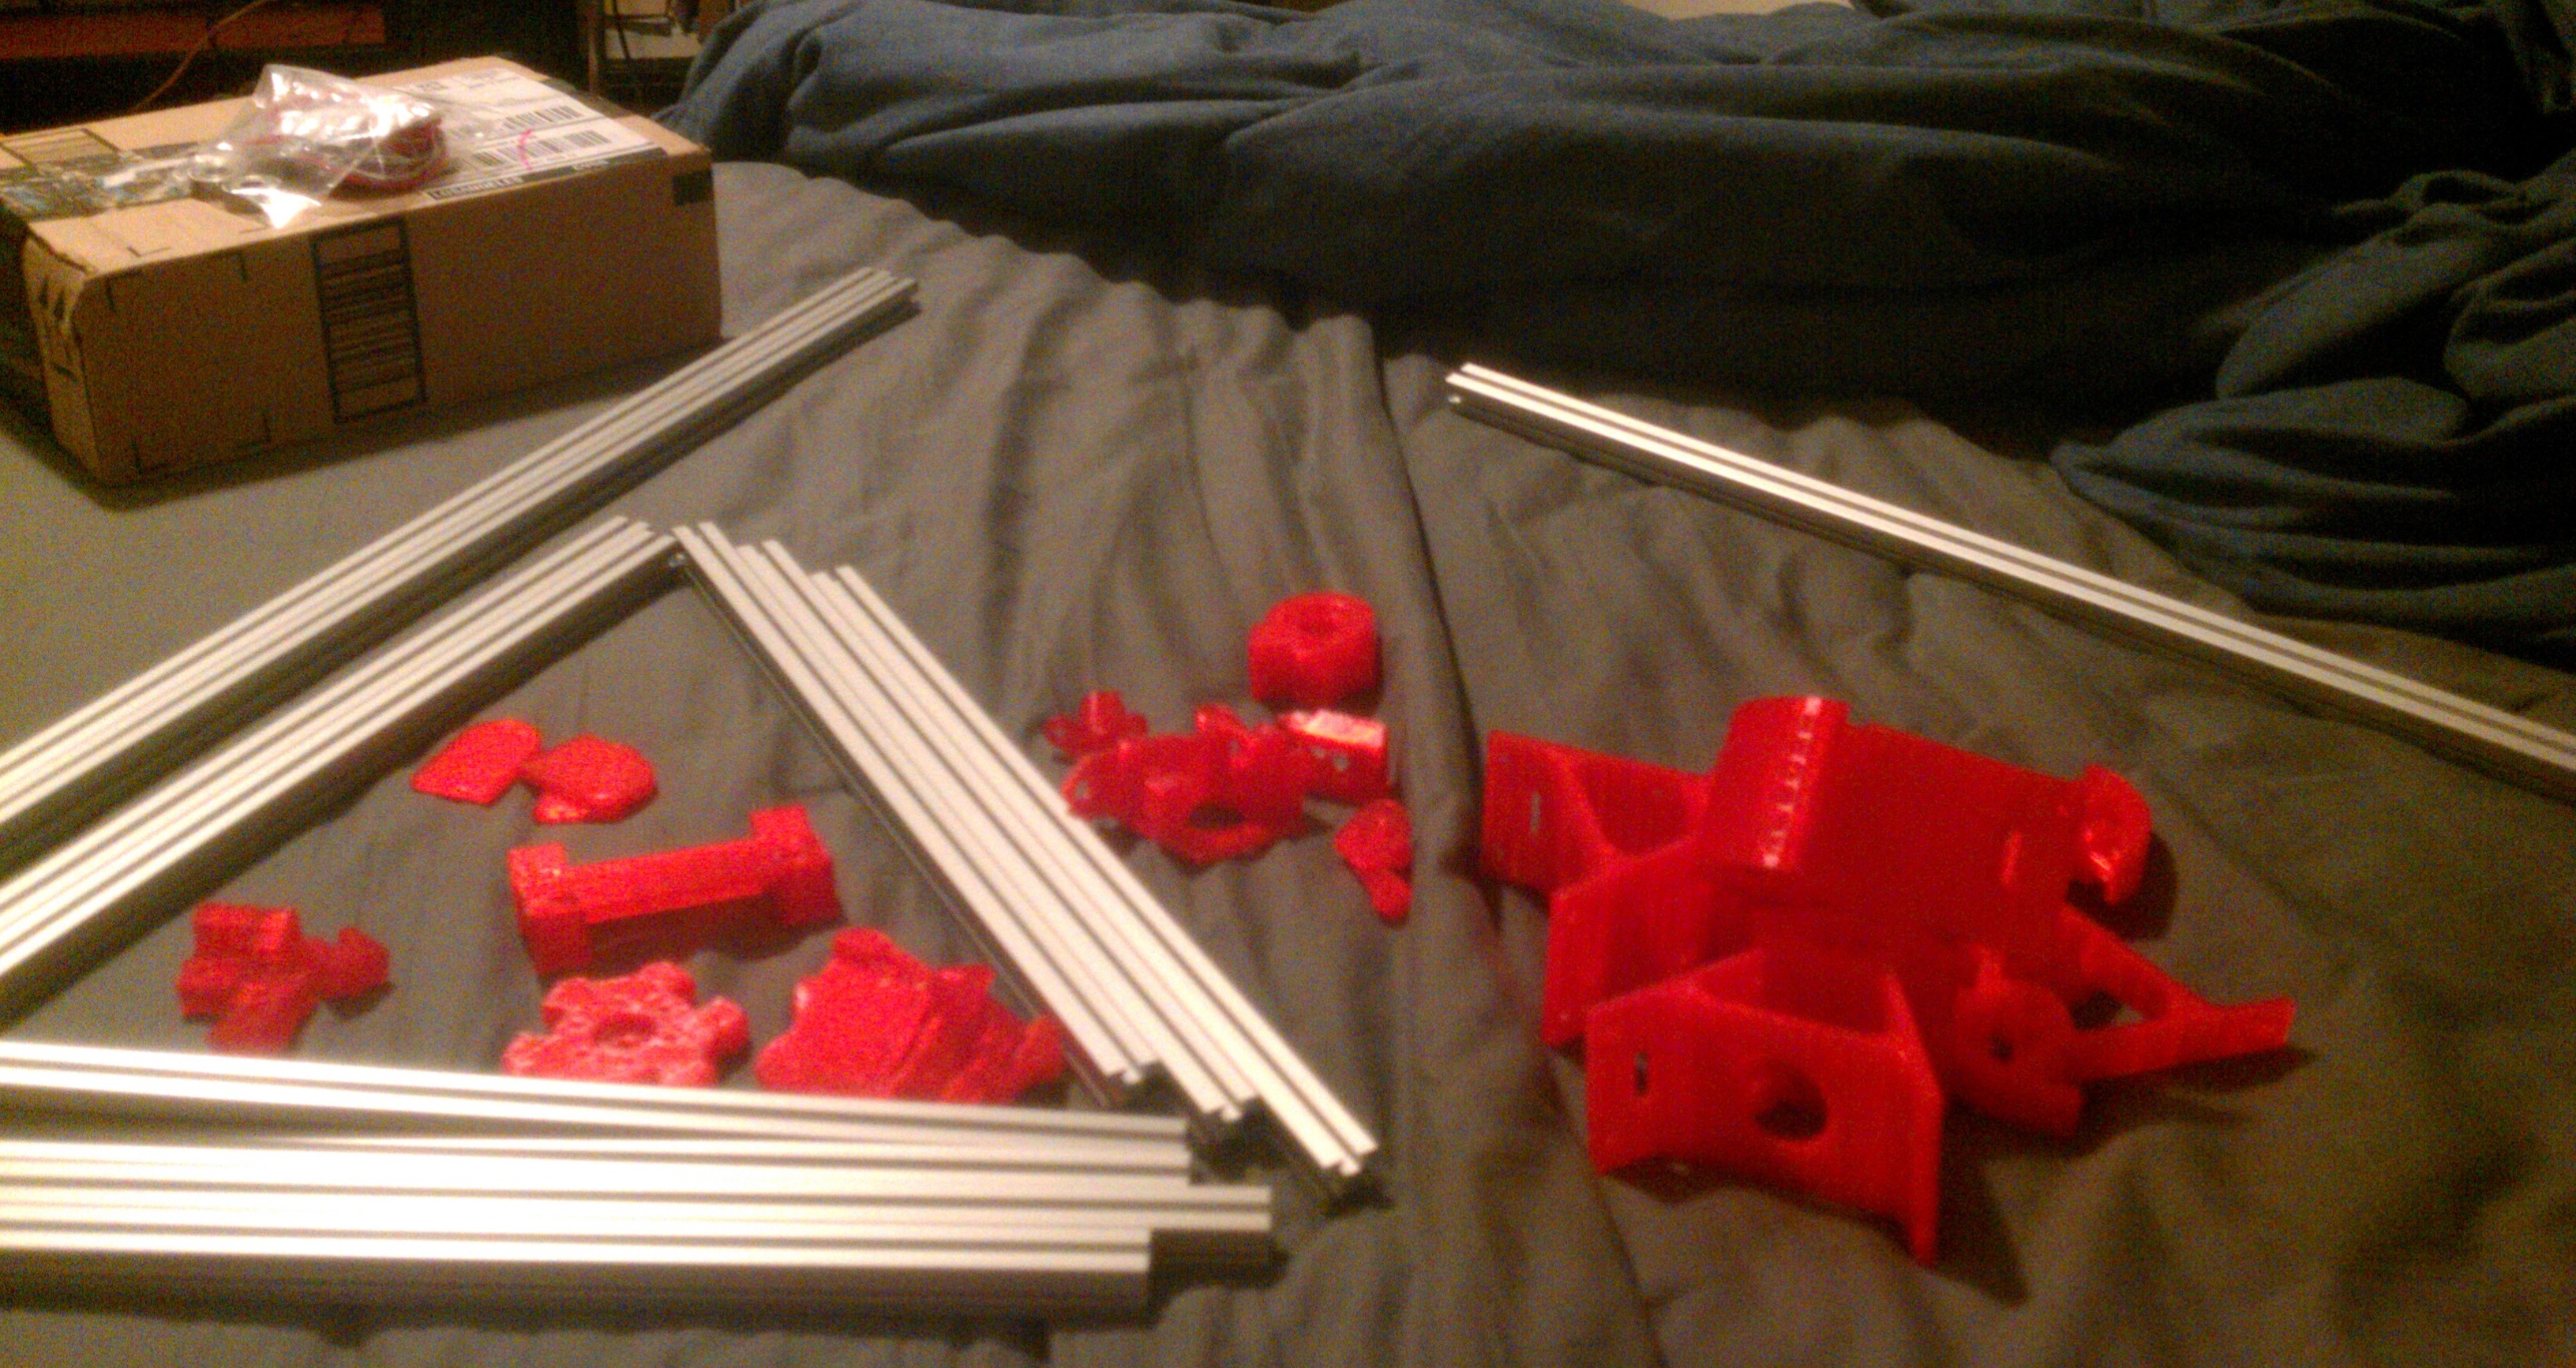
Here’s the printed parts I got from MakerGeeks. At the time, they didn’t have a kit, as the Mini Kossel didn’t even have instructions yet. Someone on the forums told me “Just order all the parts in the BOM and it will be pretty self explanatory after that”. I agree, it was totally self explanatory after 3 years of Mechanical Engineering school, a good technical background, and assembling and disassembling the printer 4 or 5 times. But I wouldn’t have it any other way. A 3d printer is a big undertaking purely in running and maintaining it. No two home-made printers are alike, and every one has challenges in calibration. Things will break. But when they do, having built the printer and knowing every inch of it comes in handy.
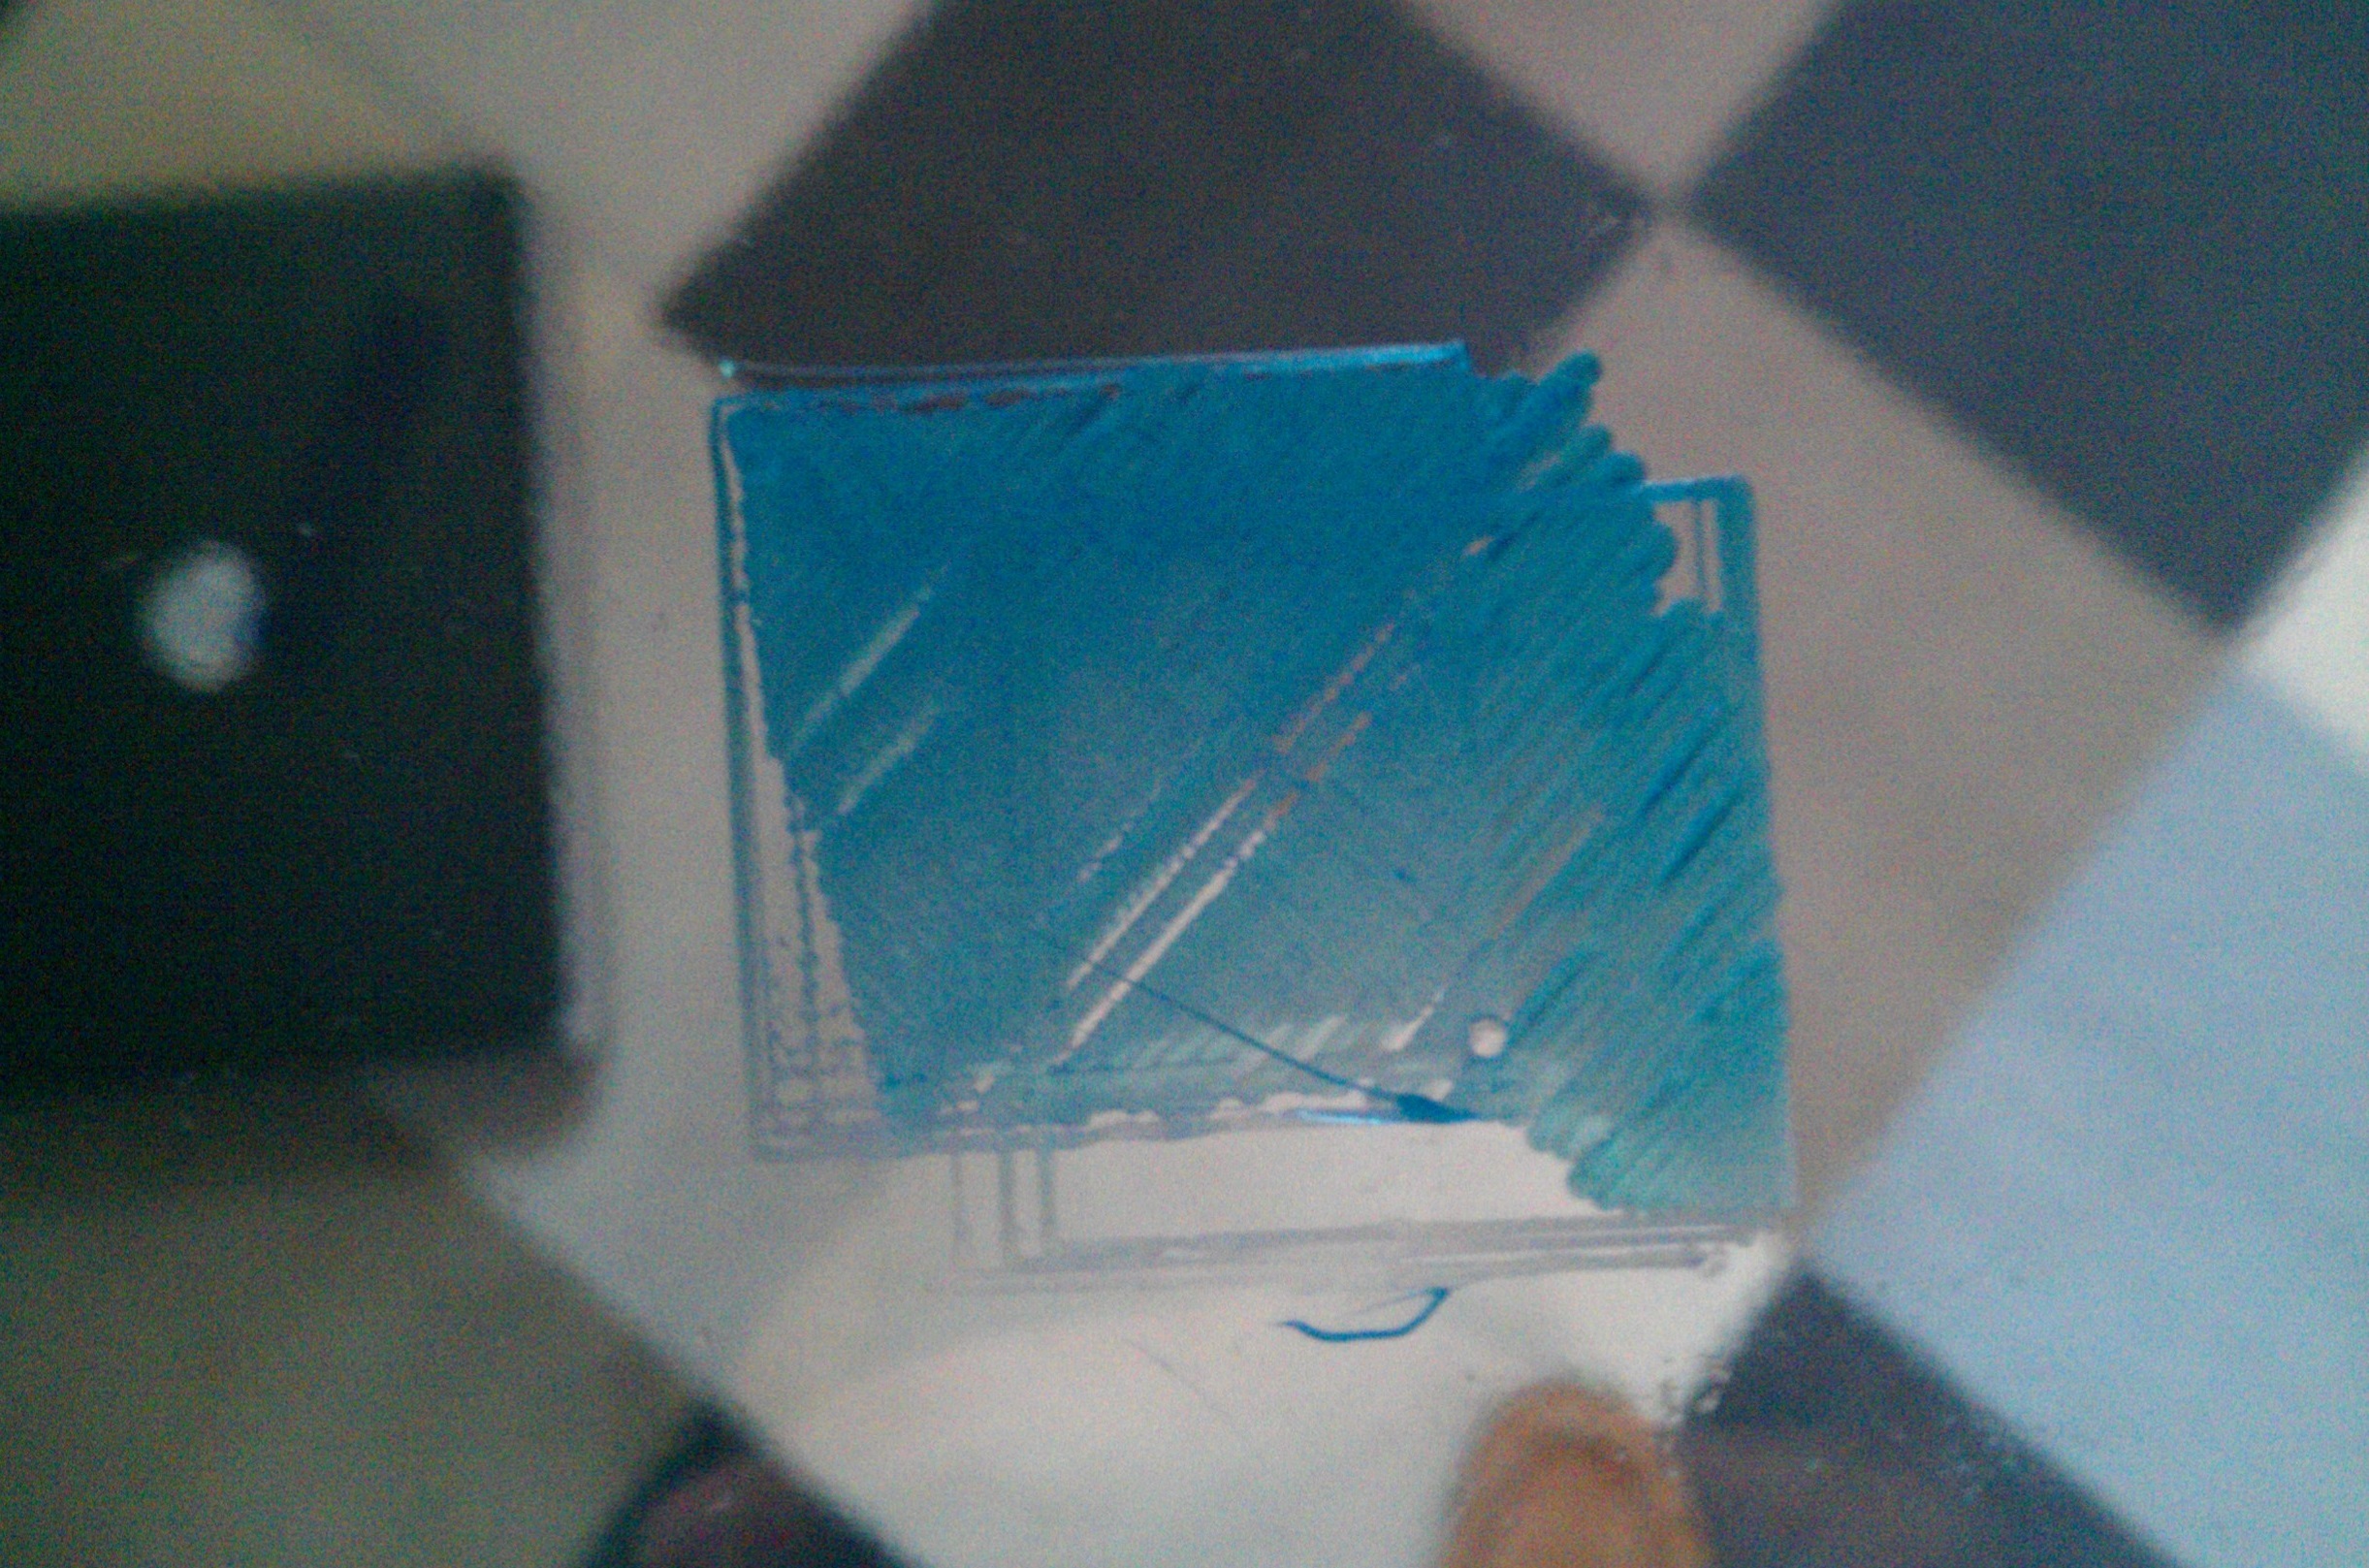
This is it! Hundreds of dollars and a fraction of a hundred hours to get this sad smear on the glass. The printer wouldn’t run at first, just stutter and jerk. That turned out to be caused by excessively high feed rates in the control program locking up the controller. Then because of reversed wiring, some motors would go the wrong direction. Finally, I got here. The glass moved during the print causing the weird double image. But it worked!
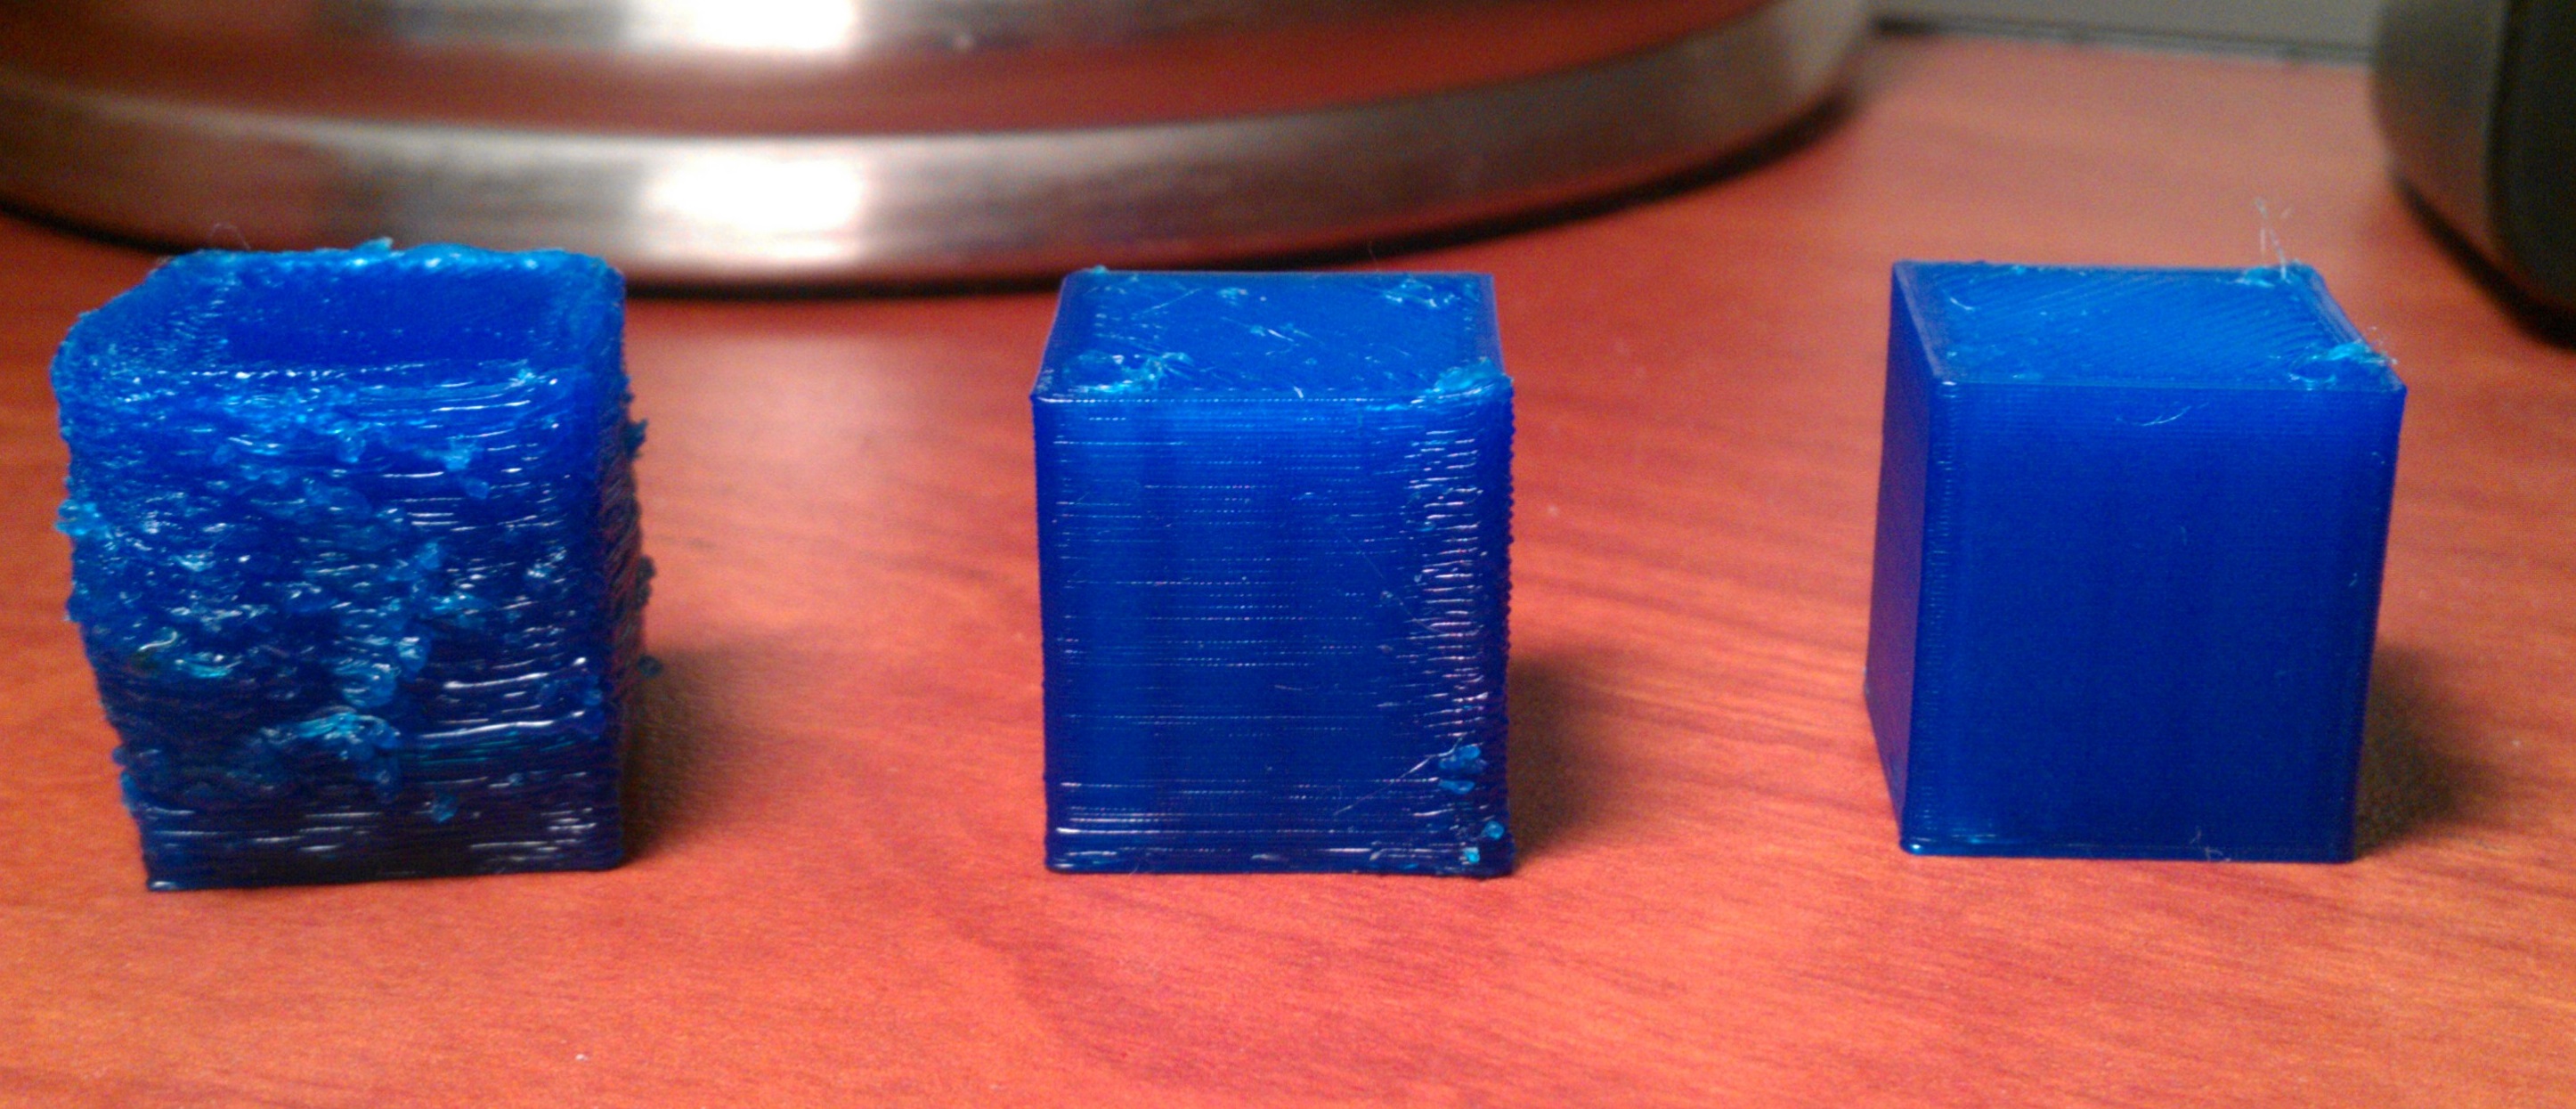
After that I moved into calibration. Since I had auto levelling, I calibrated the printer to run mostly flat, only varying by a millimeter or two and then letting auto leveling take care of the rest. Then came the extruder calibration. Turned out my direct drive Airtripper extruder didn’t really have enough torque to crank the filament out. So I switched the microstepping mode to half steps instead of 1/16ths and jacked up the current. After that it was nailing down speeds, temperatures, and extruder steps per mm. Finally it was complete!
DominicDoty.com and all work shown in it is licensed under a Creative Commons Attribution-NonCommercial-ShareAlike 4.0 International License.